If you're accustomed to working with Adobe Photoshop's "Rotate Canvas" command, you may expect to find an equivalent option in Adobe Illustrator. In Photoshop, the canvas defines the live area of an individual document, which constitutes a resizable object you can crop and rotate. In Illustrator, the canvas consists of the "scratchpad" working area, the background behind the individual artboards on which you draw. You can't rotate the canvas itself because Illustrator doesn't treat it as an editable, selectable object, but you can change the orientation of individual artboards and the artwork that appears on them.
Step 1
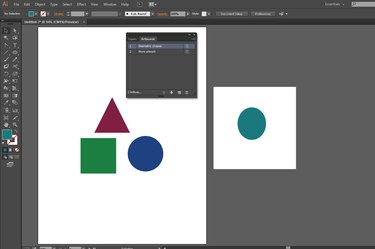
Open the "Window" menu and choose "Artboards" to reveal the Artboards panel. Select the listing for the artboard you want to change.
Video of the Day
Step 2

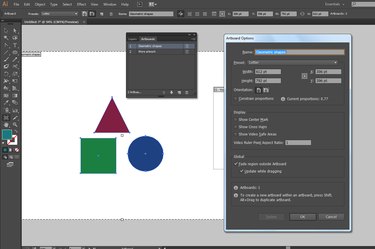
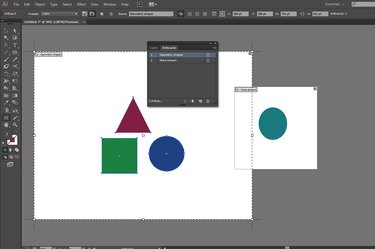
Open the fly-out menu at the top right corner of the Artboards panel and choose "Artboard Options." Change the orientation of the artboard from portrait to landscape or vice versa to rotate its dimensions. Note that this operation does not rotate the artwork on the artboard.
Step 3
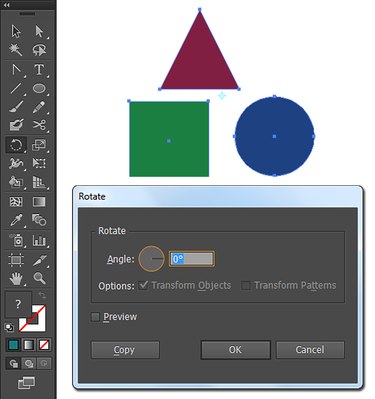
Press "Ctrl-A" to select all the artwork on the current artboard. If several artboards intersect, this command selects the objects on more than one artboard. Press "R" to switch to the Rotate tool. Double-click the tool to open the Rotate dialog box. When the dialog box opens, enter a rotation angle to change the orientation of the selected artwork. Click the "OK" button to close the dialog box and complete the operation.


